Build an Airport in Your High School Classroom
Teachers are often looking for new ways to engage students. As an aviation teacher, the engagement level can take off by designing an airport on your classroom floor.
This, of course, depends on the space available and the layout of your classroom. Perhaps you have a classroom and a lab, or maybe you just have a classroom. Either way, you may need to be creative to get it made, but once you do, it will be worth it. The following is my account of going through this process and ideas you can use with your classes.
Making the Airport
-1.jpeg?width=1500&height=999&name=AdobeStock_523800119%20(1)-1.jpeg)
I made my airport in a typical 30x30’ classroom. I arranged the desks in a “U” shape, leaving the middle of the floor open for the airport. I chose to create our local airport, KXNX, a non-towered airport with one 6300’x100’ runway and a parallel taxiway, along with an FBO and hangars.
The Federal Aviation Administration (FAA) does not have a diagram for the airport, but one is available in ForeFlight. Using the ForeFlight airport diagram for accuracy, I applied tape to the floor, using the tile lines as guides.
Be careful when selecting tape to use on the floor. Some tape, when removed, may leave a residue. I used half-inch white vinyl tape to outline the runway. After all, runway markings are white. I made each tile count for 500 feet. It took 12 squares at 500 feet each to make a 6,000-foot scaled-length runway. I used just over half of a square for the remaining 300 feet.
The width of the runway was one square. I realize the width was not to scale. I’ll explain the reason for that shortly.
The tile lines made it easy to create straight lines. Once I finished the lines, I applied the correct runway numbers to both ends of the runway using the same tape. I added a threshold, centerline, and 1,000-foot markings at both ends.
For the taxiways, I used half-inch blue painter’s tape. The airport diagram was essential to get the taxiways right. I used blue tape to mark both edges of the taxiway along with taxiway entrances along the runway. The shape of the taxiways was exactly like the airport diagram. It really began to take shape.
Next, I used additional blue tape to mark the FBO, ramp, and hangars. In hindsight, I probably should have picked a different color tape. It never caused issues, but blue should have been for the taxiways only.
I used yellow tape to mark the hold-short bars at all entrances to the runway. This required a bit of patience to cut thin strips for the lines and the dashes. I was careful to make them all as straight and accurate as possible. I chose not to make the yellow taxiway centerline as I was using half-inch tape; it was challenging to make it straight and thin enough for the taxiway centerline. The airport was now complete on my floor, and the students were impressed when they came in the next morning.
Ways To Use the Airport
Each student received a handout with the airport diagram for KXNX. The students could quickly see that the airport on the floor matched the one on the paper.
With the entire middle of the room open for the airport, it made it easy for me to move around and point at areas of the airport on the floor. All students had a clear view of the “floor airport” as well. I primarily used small die-cast airplanes like the Hot Wings Cessna 172 and other small airplanes from my children’s playsets. I was sure to ask my children first!
To keep it simple, I parked two in the parking area, just like the flight school, next to the FBO. I taught the students how to read the airport diagram, along with runway numbers, taxiway designations, hold-short markings, etc.
When it came time to understand what closed traffic meant, I showed them the proper radio calls using one of the planes from the flight school. I provided students with a script of what to say to get from parking to the active runway. The script also included what to say from holding short through takeoff, the whole traffic pattern, landing, exiting the runway, and taxiing back to parking. We used the same tail numbers as the local flight school for the radio calls.
After demonstrating what to say and how to get the airplane from parking to the hold short bars, I then had a student do it. The student had to get out of their seat, take an airplane, say the right radio call, and move his/her airplane with the correct route to the active runway. Other kids watched closely in case they were called upon to do the same.
I then demonstrated entering the runway, takeoff, crosswind, downwind, base and final, exit the runway, and taxi to parking before picking another student to do the same. The script made it much easier. I could see all the other kids thinking, “What comes next?” They were ready once again in case I called on them.
The engagement was fantastic. It took a few rounds with multiple students before things began to flow smoothly. Of course, there was only one aircraft in the pattern.
We discussed operations at non-towered fields and how pilots are responsible for their own spacing and radio calls. I asked two students to hold short of the runway, each ready for closed traffic. The first one announced his intentions to take off for left closed traffic, and he took off. (Hint: have students walk slowly as they take off and climb to prepare for the crosswind. That allows time for you to talk to the other students.)
Once the first pilot announced he was turning a left crosswind for runway 17, the second pilot announced she was “taking runway 17 for left closed traffic.” She took off as the first pilot announced he was “turning left downwind for runway 17.” This continued until both pilots made it around the pattern with adequate spacing and returned to parking.
All students got a chance to do this activity. It did take some time, but because all the students got out of their seats and moved their bodies while speaking, they remembered it later. The more the students participated, the less they relied on the script. It was a participatory activity rather than a passive activity.
You can take this further if students have rolling chairs in the classroom. They can move smoothly down the runway and “fly” the traffic pattern while rolling in their chairs. I have seen as many as seven students “in the pattern.” They all tried to keep proper spacing, and while they all made their best efforts at radio calls, they realized how challenging it can be in a crowded, non-towered airport environment.
This activity directly translated to the real airplane at the flight school. Students were used to the layout of the airport. They were comfortable saying the correct tail numbers and accustomed to saying the correct radio calls at the correct time. Ultimately, it worked so well that other flight instructors at the flight school couldn’t believe how well the students did on the radio in the pattern.
Taking It Further With Drones
You can complete the same activity using drones. Unless your floor airport is outside, you probably want to use a drone like the Ryze Tello. It works well for this activity. If your airport is designed outside (perhaps using sidewalk chalk), you may want to use a DJI Mini (or equivalent).
Once students are proficient in drone operation, the drones can take the palace of walking around the traffic pattern holding a small airplane. Students can fly the drones from takeoff to crosswind, downwind, base, and final. It’s a great way to get students to practice flying the drone with precision while saying the necessary radio calls out loud.
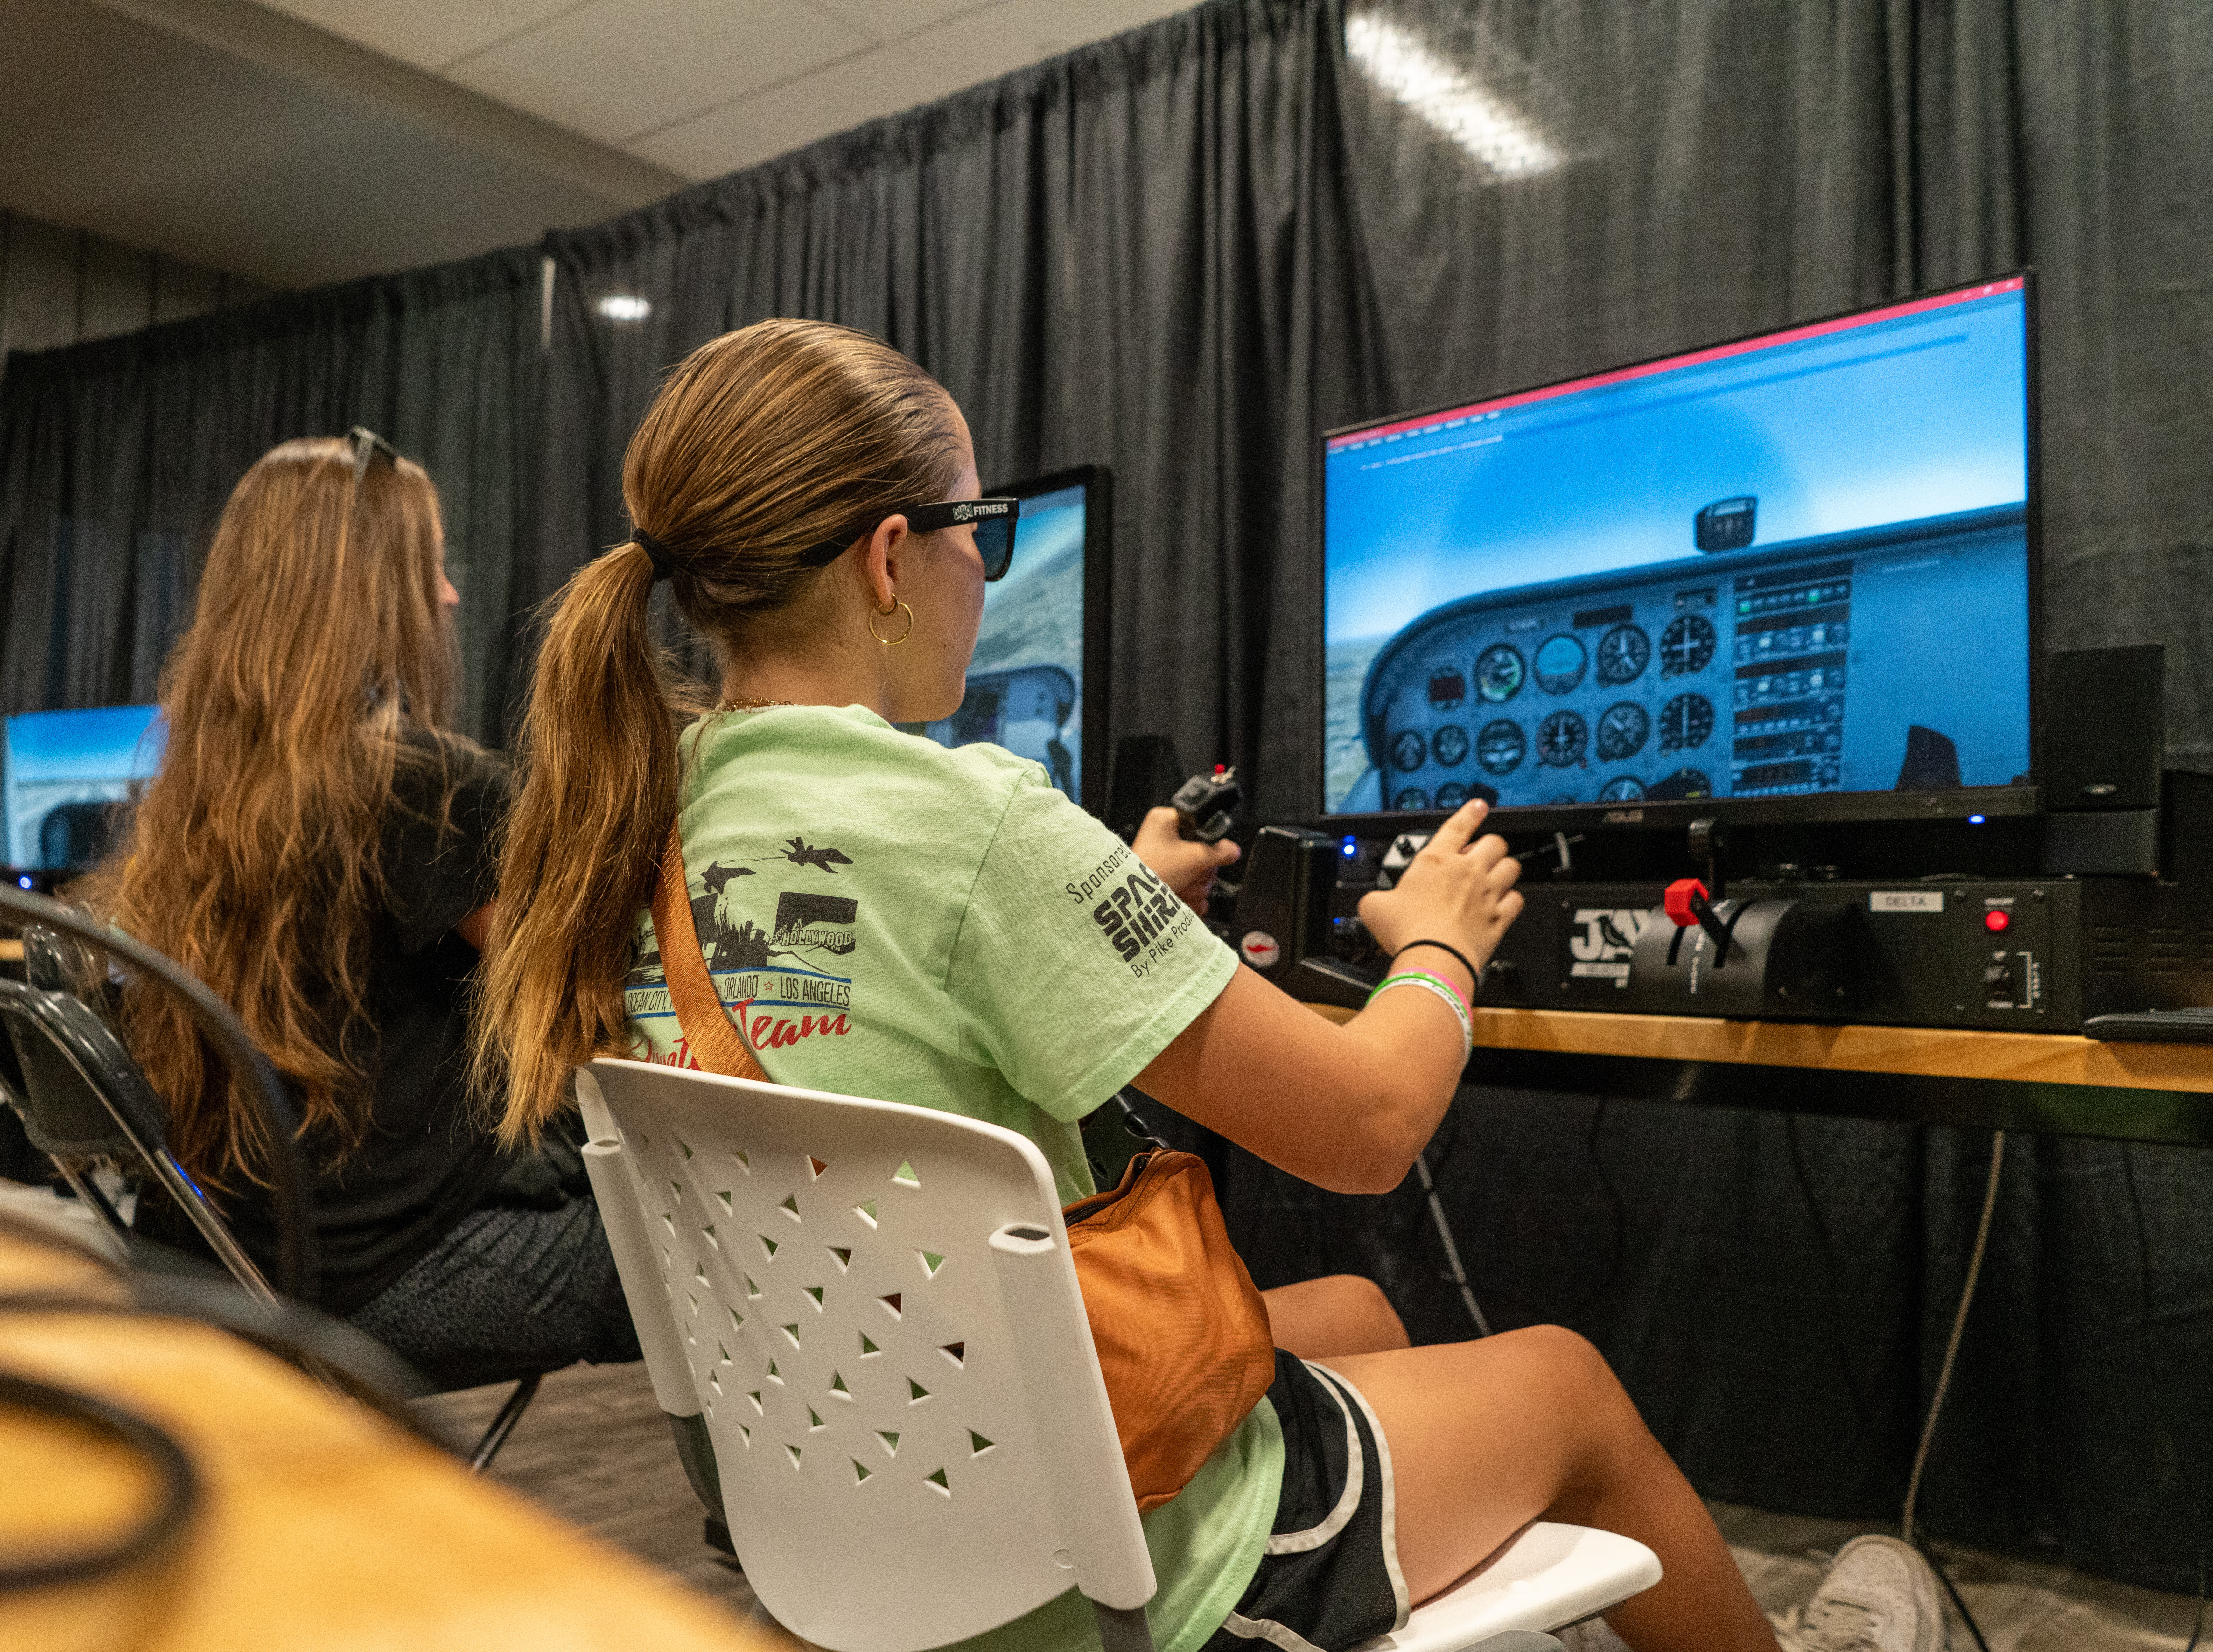
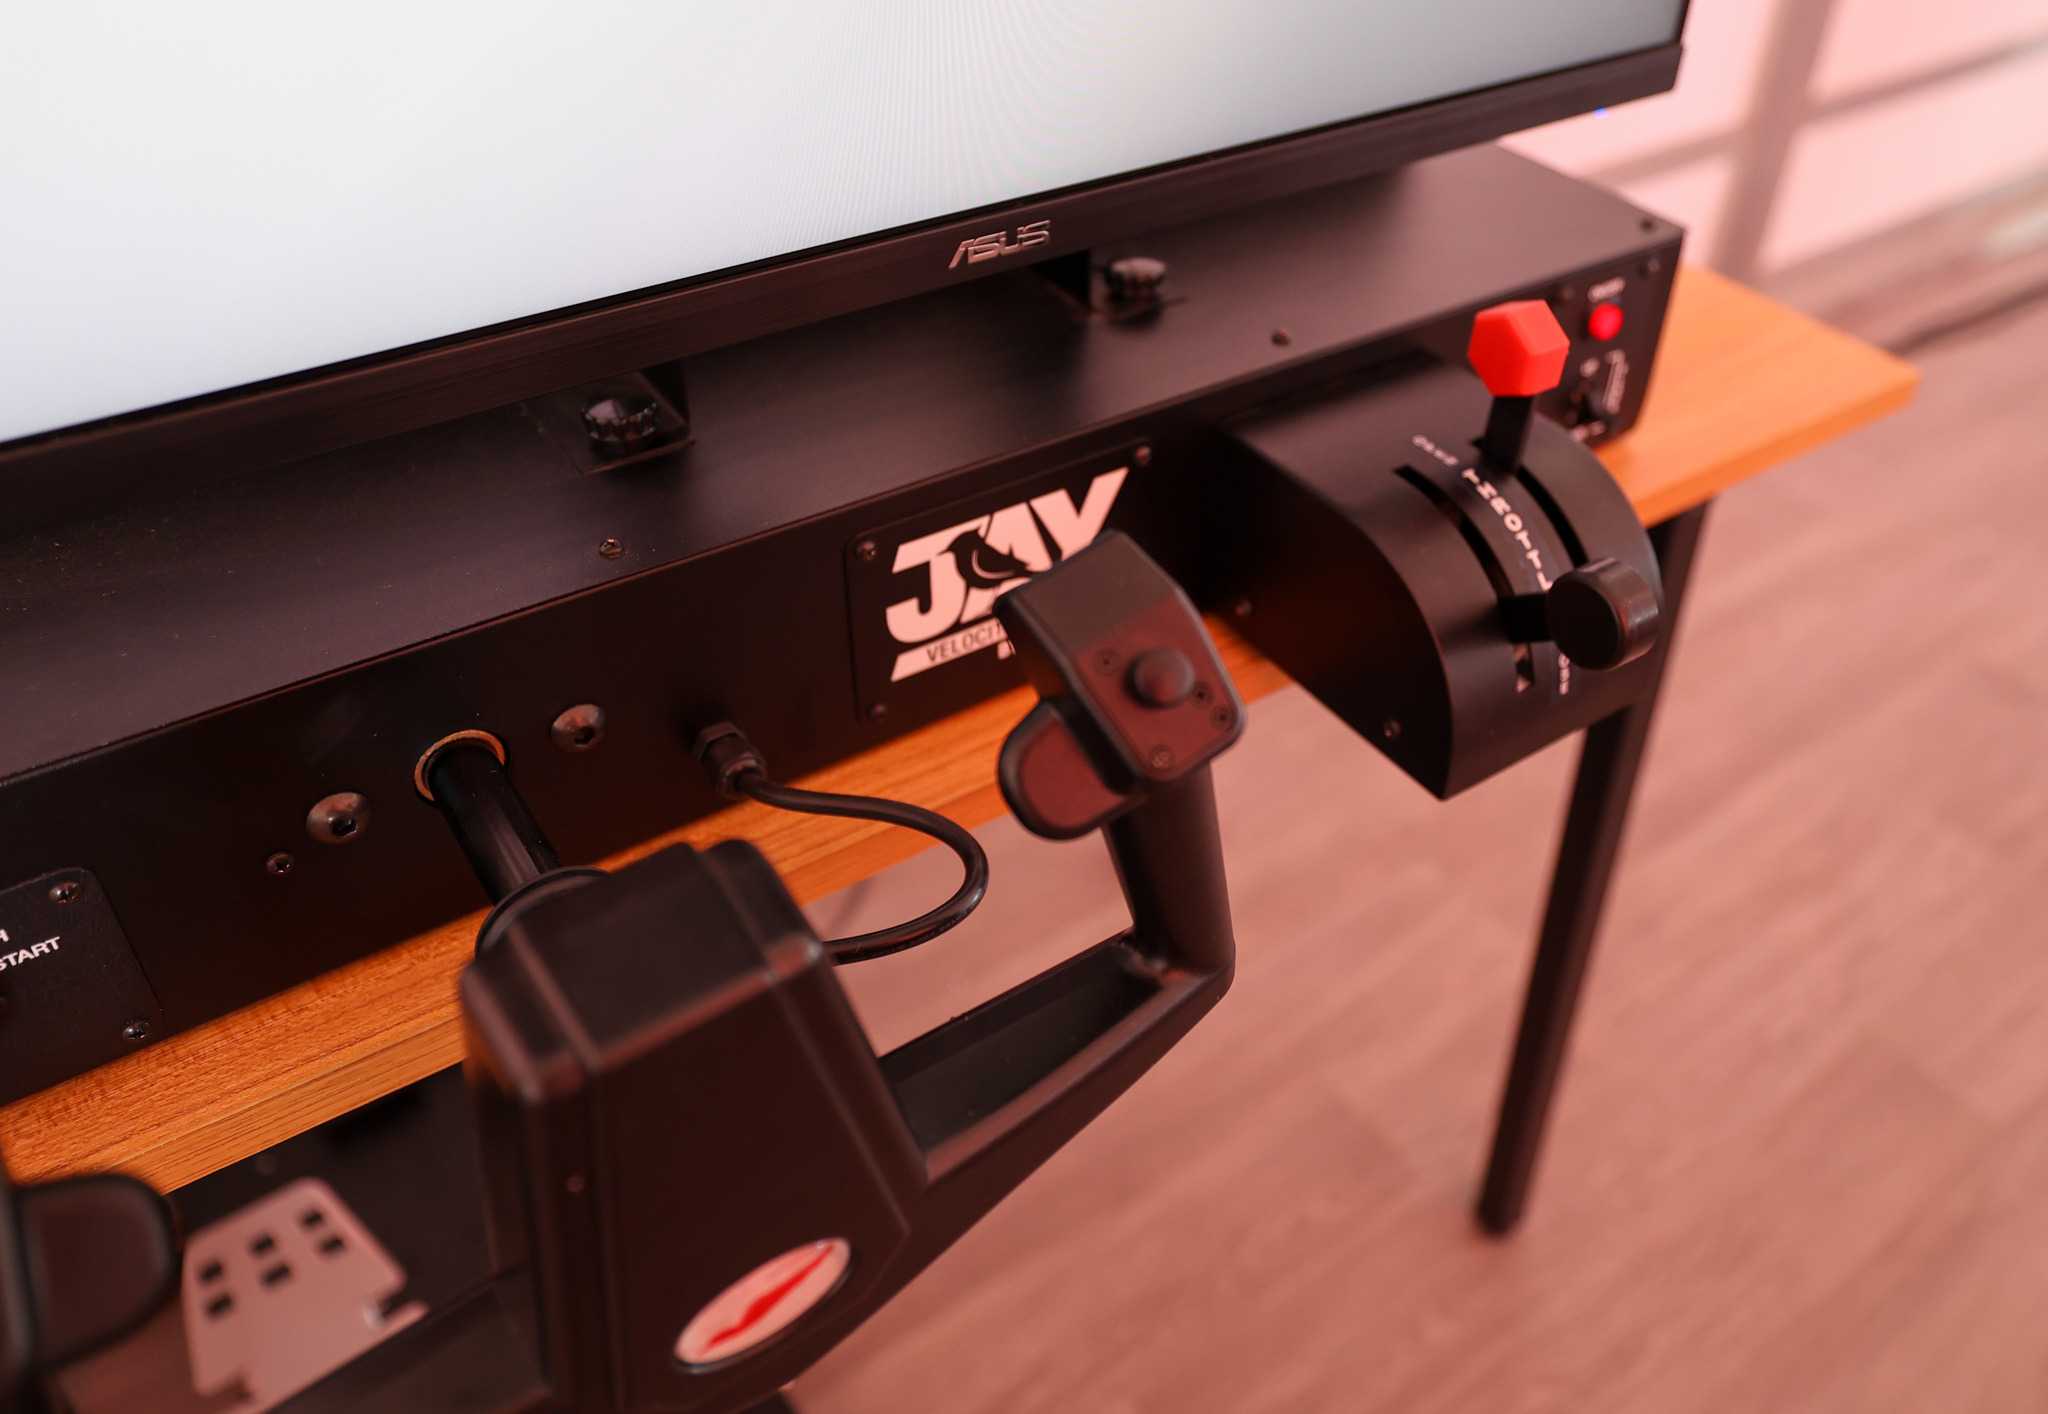
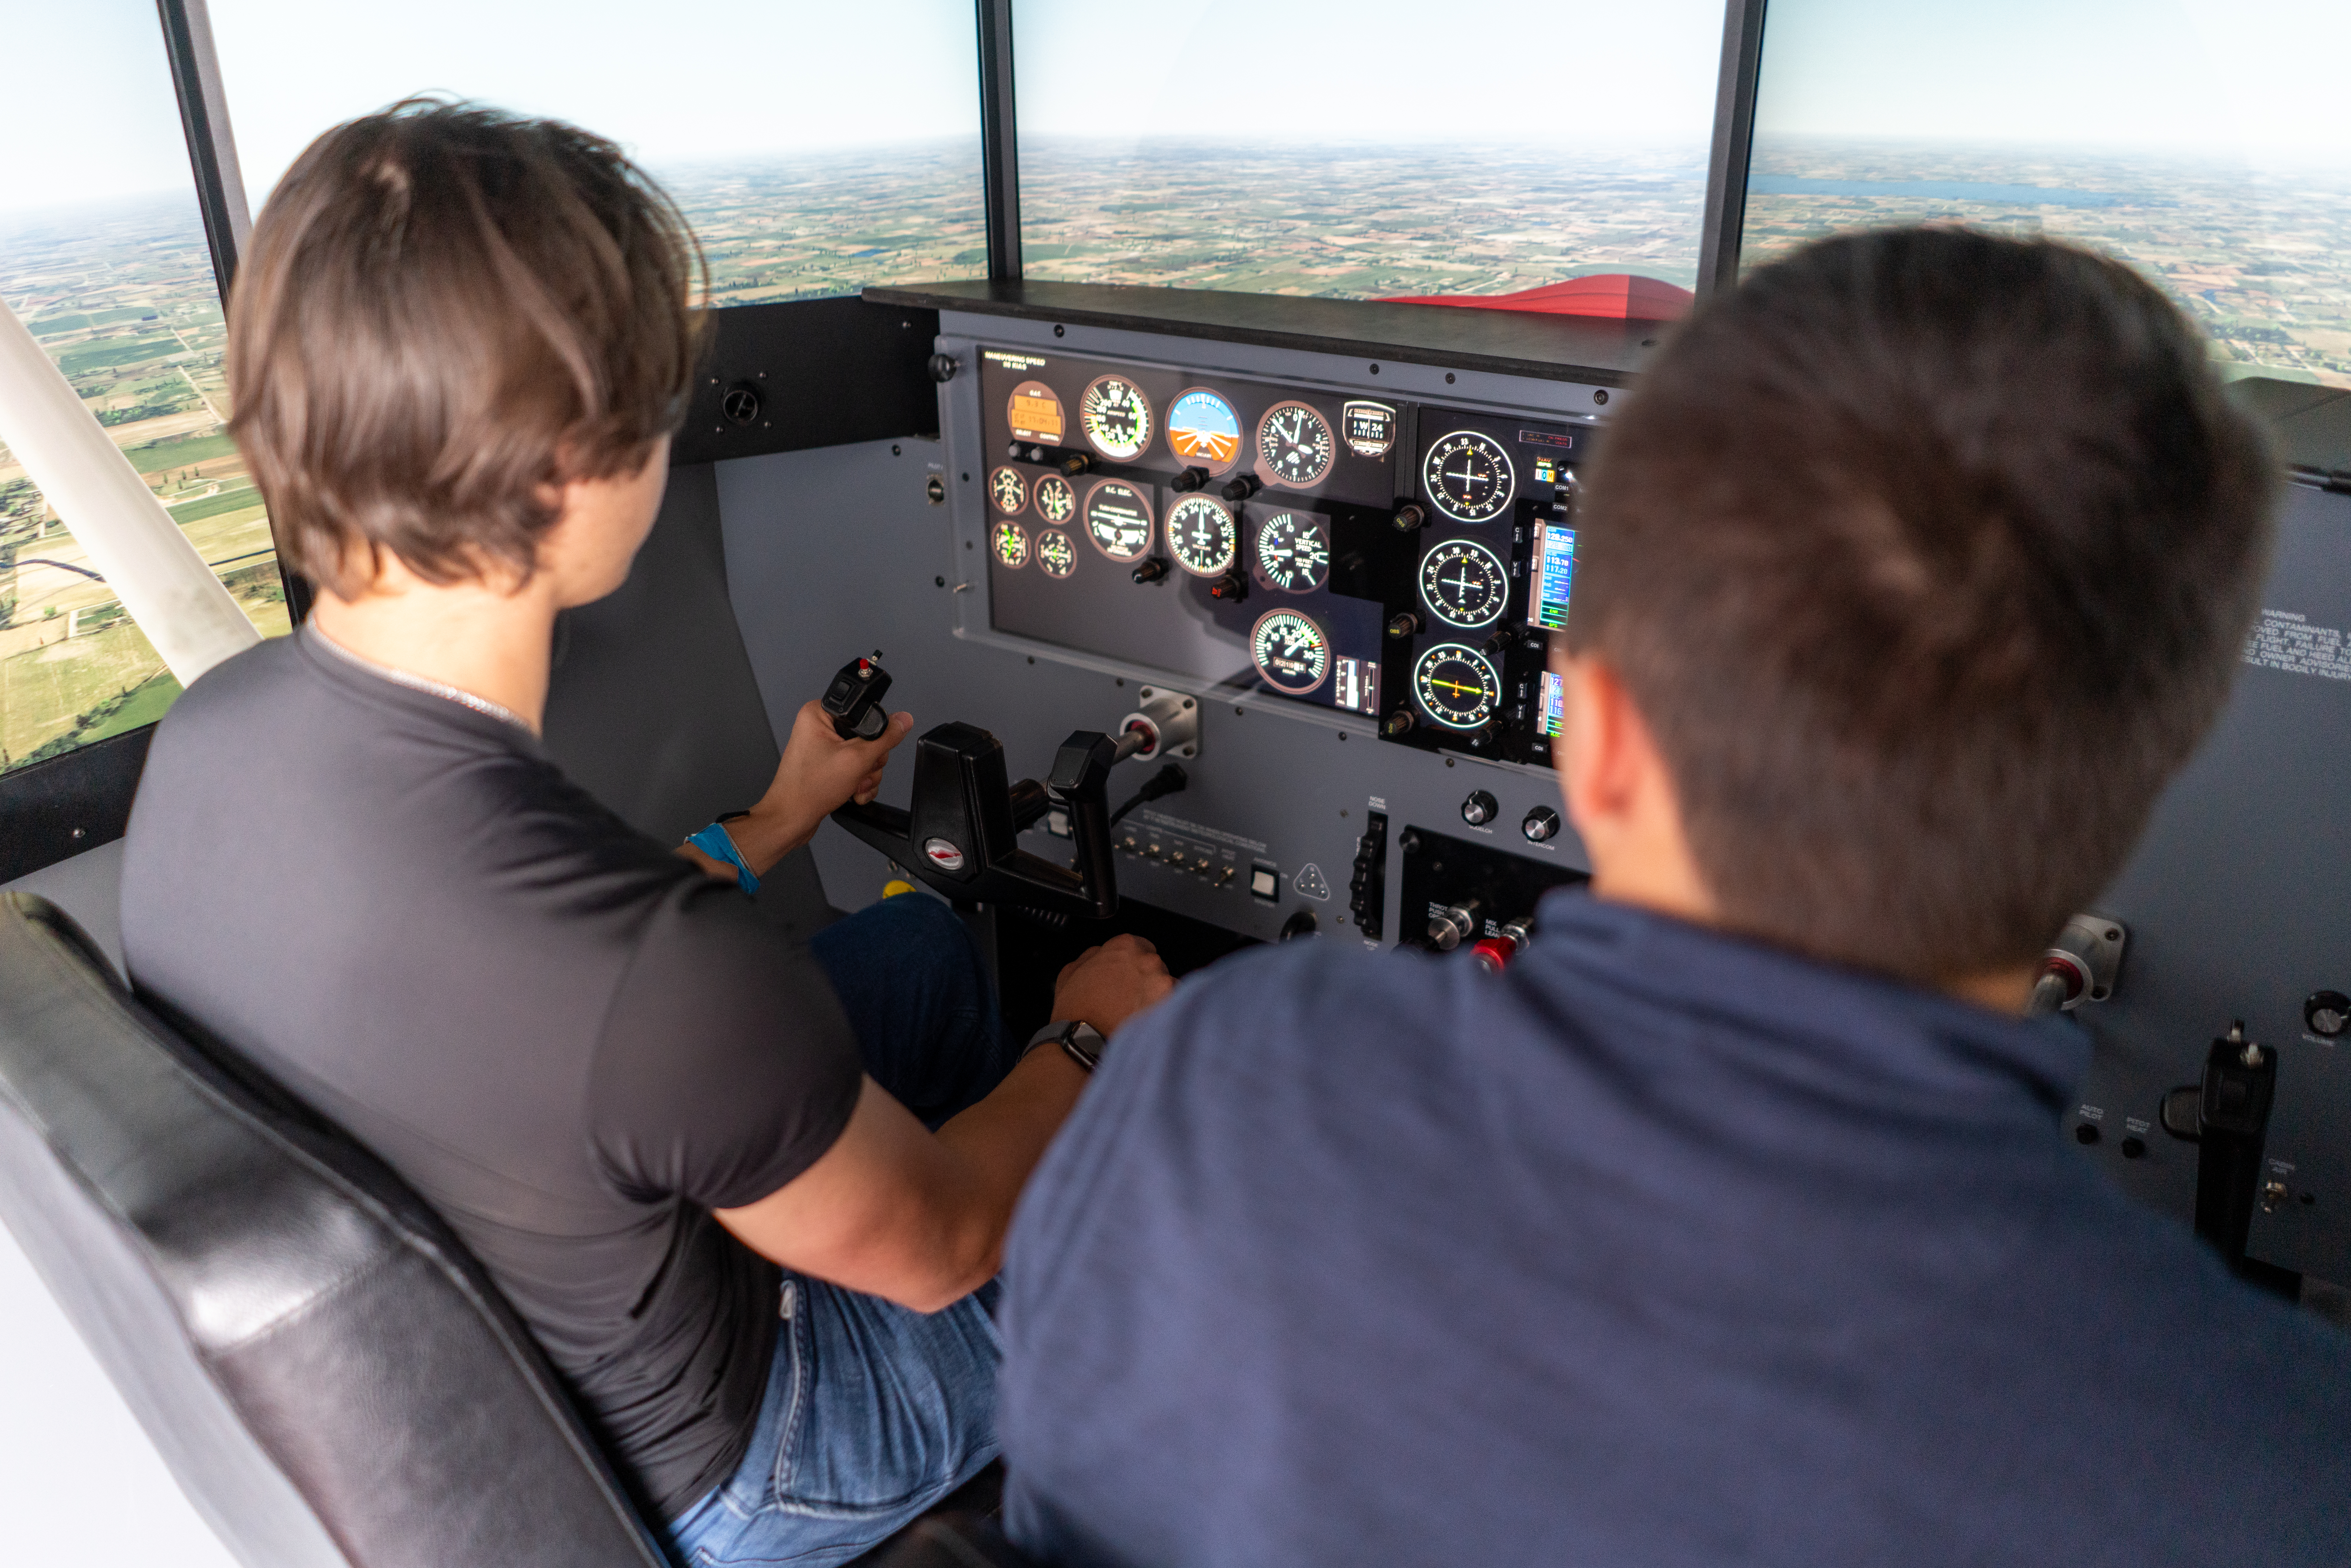
Two students can even do this to help illustrate appropriate spacing. This translates exceptionally to networked Redbird Jay Velocity simulators in multiplayer mode, whereupon students can simultaneously fly their aircraft in the traffic pattern.
Having a student act as an air traffic controller for the drones can take your classroom airport to the next level. Drone pilots can speak to ground control or tower as appropriate, at which point the controller can provide taxi, takeoff, or landing clearances. You can even designate a “practice area” away from the airport like a flight school would have.
These are the kinds of activities students remember long after high school is over. As the teacher, you can expand this idea to fit your needs better.
The concept of a floor-based airport layout is simply another technique to help engage students and increase student learning. Think outside the box. See how you might be able to improve upon these ideas.
Share this
You May Also Like
These Related Articles

Basic ATC Communications on a Redbird Flight Simulator

Best Practices for Using a Redbird Jay in the Classroom
